
Time for another Grainfather batch. I’m not sure whether I shall get closer to my target of replicating a Sheffield Bitter; indeed I may be moving further away! But at least this time, the colour will be nice and pale. This is the Beersmith formulation:
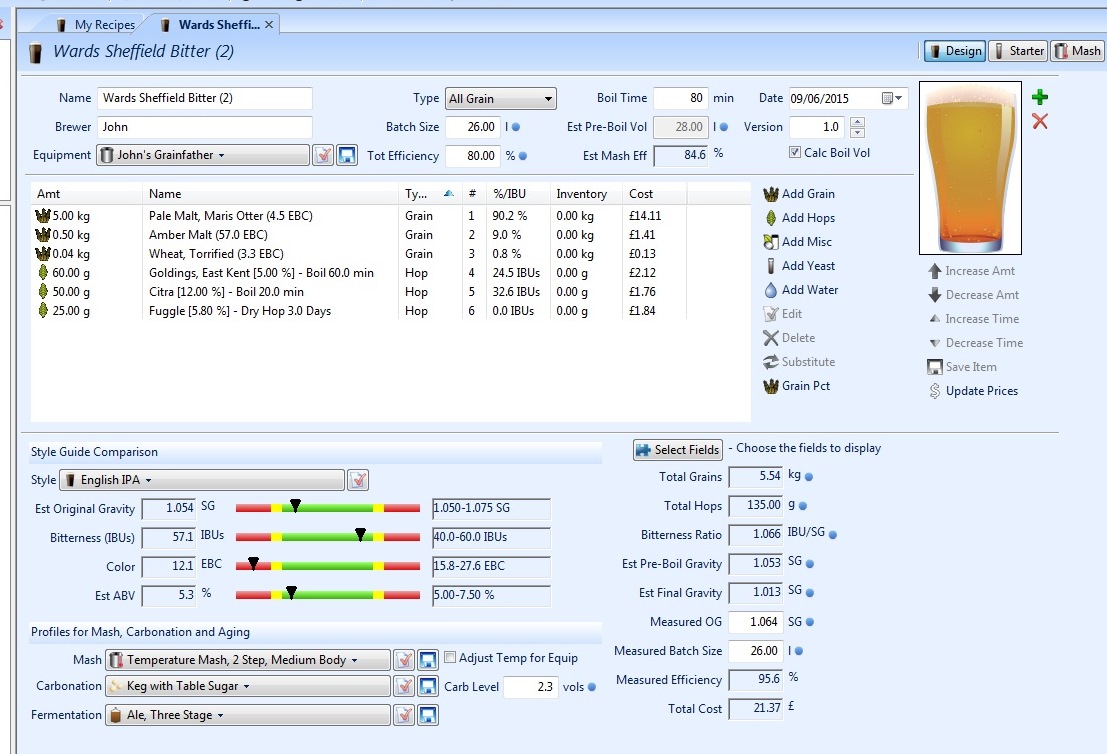
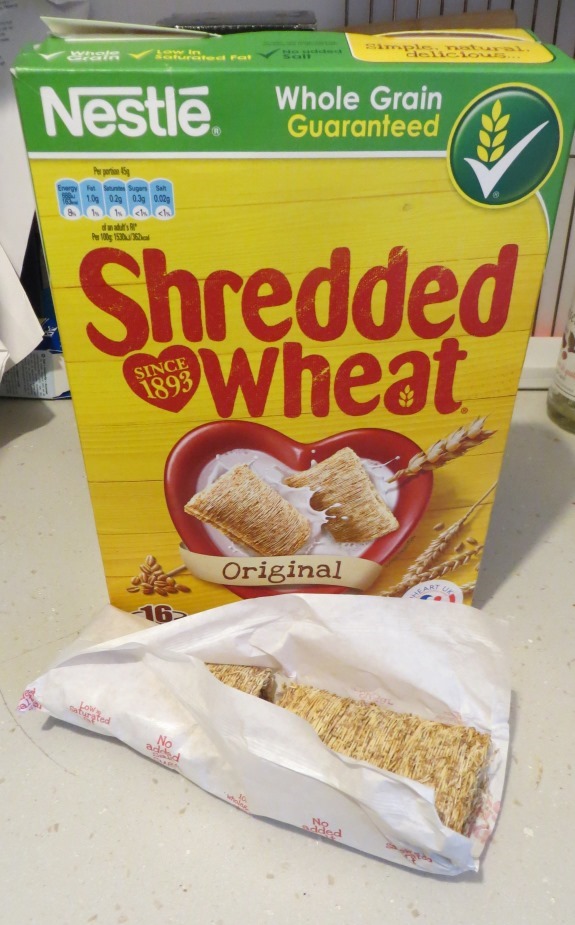
I’ve included a small amount of torrified wheat in the recipe for smoothness and head retention. I can’t remember the source now, but I once read that the breakfast cereal Shredded Wheat is a close approximation to brewer’s torrified wheat. We regularly used it in our brown ales to good effect, so I’ve used just a couple of biscuits in the mash.
I won’t go through all the Grainfather steps again. Second time round, the Grainfather remains very easy to use and to keep clean. We join the process towards the end of the brewing stage:

I’ve included Citra hops for bitterness and hoppy flavour as well as East Kent Goldings. This is probably the greatest flavour risk in the brew. It will certainly differ from traditional English hop flavours. Will it be delicious, or merely strange? I’ll have to wait to find out.
The Grainfather counterflow wort chiller works impressively well, bringing the temperature from near boiling right down to around 20C straight into the fermenter.

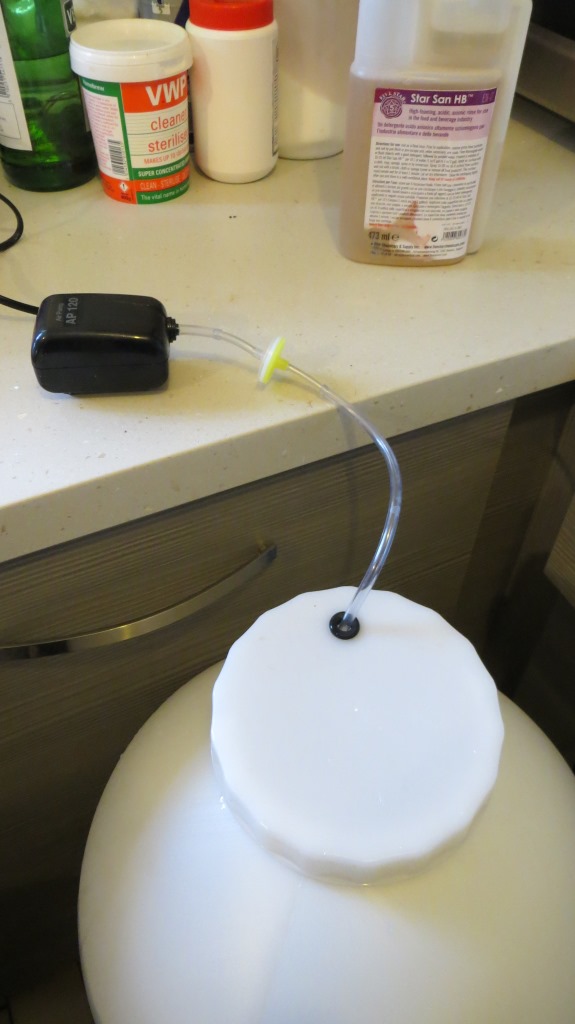
I oxygenated the wort for about 20 minutes using a wort aerator, which is basically an aquarium pump with a sterile filter.

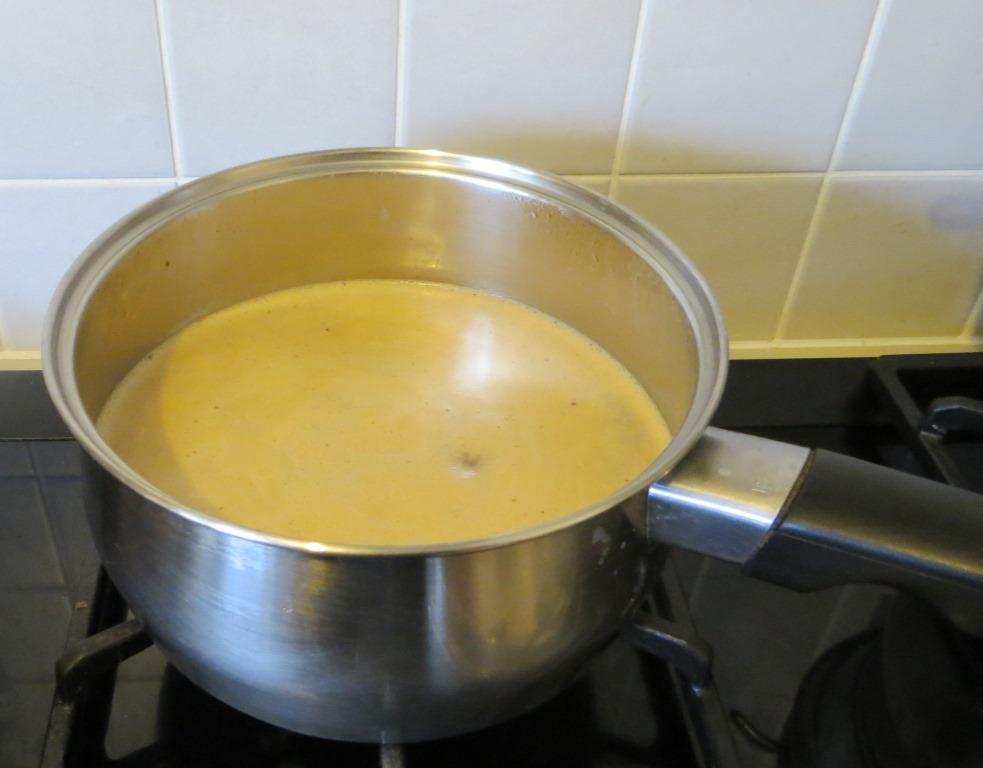
And this time I took the trouble to prepare a starter. The saucepan has been sterilised, just in case you were wondering!
I was seriously disappointed with the FastFerment conical fermenter on its first outing. The problem is that although the design seems very clever, the joints aren’t sufficiently precisely engineered. You’re given a pretty big hint about this by the inclusion of a reel of plumber’s tape with the instructions to wrap each of the screw threads before assembly.
At first, the only problem was the temperature probe insert, which started to weep.
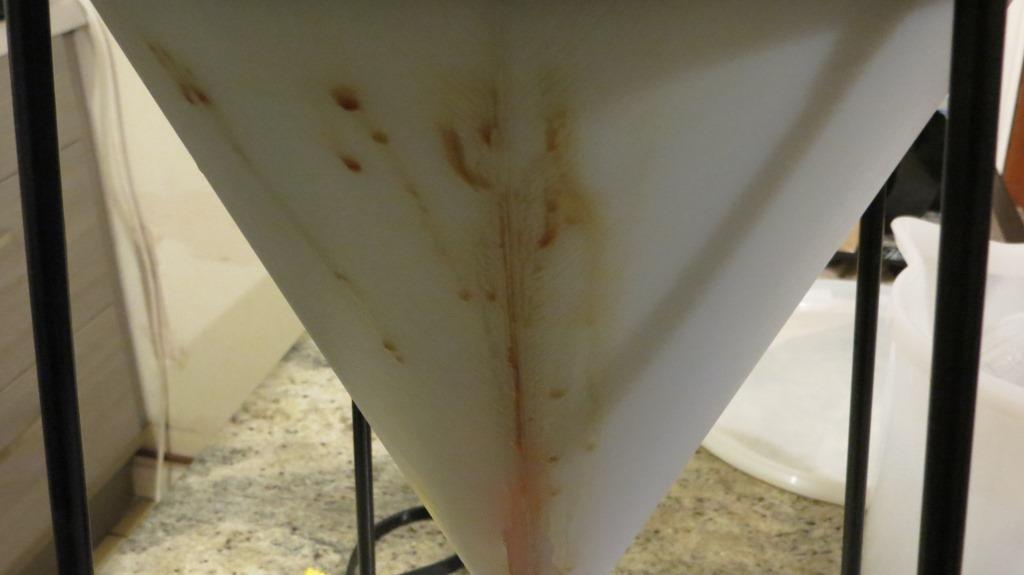
The fermenting beer dripped down onto the metal stand, where it spread out for maximum trickle-down effect and maximum bacteria growth risk.
But worse was to come. After I opened the tap to fill the bulb at the bottom with trub, both joints at the base started to leak. The handle on the tap is quite stiff, and I shifted the screw threads very slightly as I turned it. It was enough. This is the result of one overnight leakage onto kitchen paper:
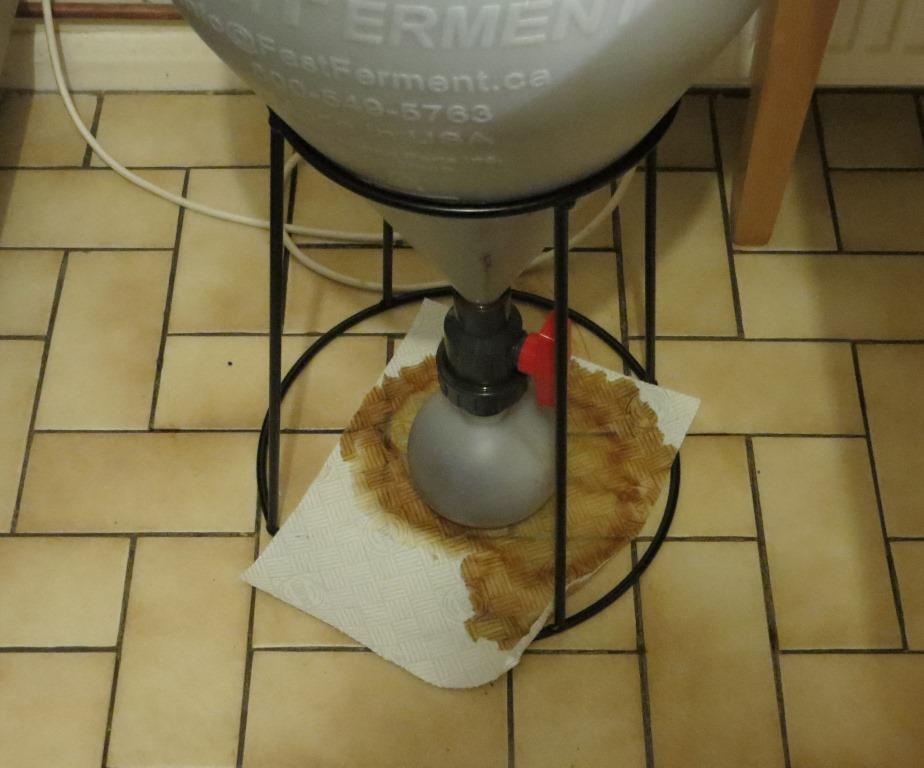
That was unacceptable. We had to drain the wort into a brewing bucket and re-wrap the joints. This time I used more substantial PTFE tape meant for gas fittings (yellow reels as opposed to white).


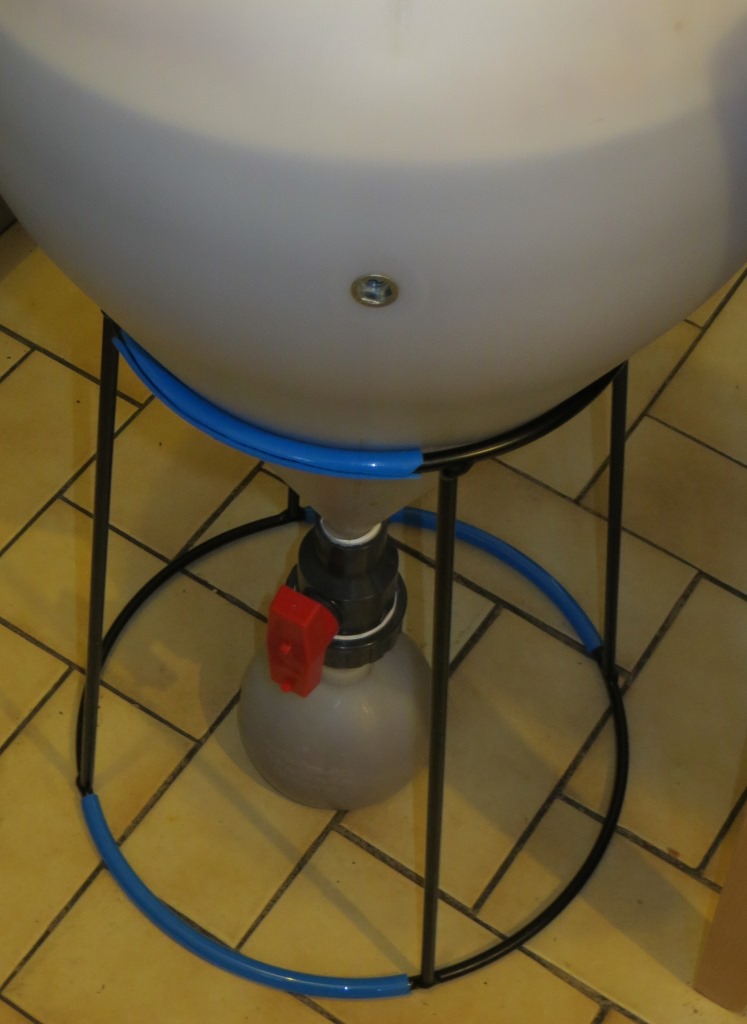
It fixed the problem, but caused another irritation. The tape prevents the joints from being fully screwed home. They’re now watertight, but the overall height of the fermenter is just a fraction of an inch longer. Unfortunately the metal stand is so designed that’s there’s virtually no clearance between the base of the bulb and the floor. Drop the bulb by even a small amount, and the fermenter won’t sit upright in the stand. The bulb rests on the floor at an angle, putting a strain on the joints.By wrapping the stand with some surplus polyurethane pipe, it gives just that extra fraction needed to restore free movement.
All seems well at the moment. But time will tell, especially when I take off the first lot of yeast prior to adding finings. We shall see whether more leaks develop then.
Other than that, my main concern is fermentation temperature. It’s running at a reasonably steady 20C, perhaps a couple of degrees higher than I’d ideally like it. But without air conditioning or a chilled cabinet, there’s not much that I can do except wait for the cooler temperatures of autumn!

How do you like that fermenter overall?
There’s no doubt that it’s a great design. My issues with it are really only niggles. The removable bulb system is brilliant – it means that you can take clean yeast after it’s first started to settle, and store it for future use, and easily and cleanly remove the trub after fining at the end of fermentation. That all works very well.
Plus, after the initial aeration, there should be no risk of contact with the air right up to and including kegging.
It’s also easy to clean and sterilise, and of course it’s great value for money compared with even the cheapest stainless steel equivalent.
If this fermentation goes well now that the fermenter has been “run in”, I can see the FastFerment joining the Grainfather on my list of favourite kit.
Thanks for your reply on your other post John, I don’t know how I missed this post! Thanks again